

Pinning: DIY popsicle stick snowflakes

November 27, 2016
As the holidays quickly approach, the best way to get ready for the season is to decorate! These popsicle stick snowflakes will add a cozy, winter feel to your holiday decor.
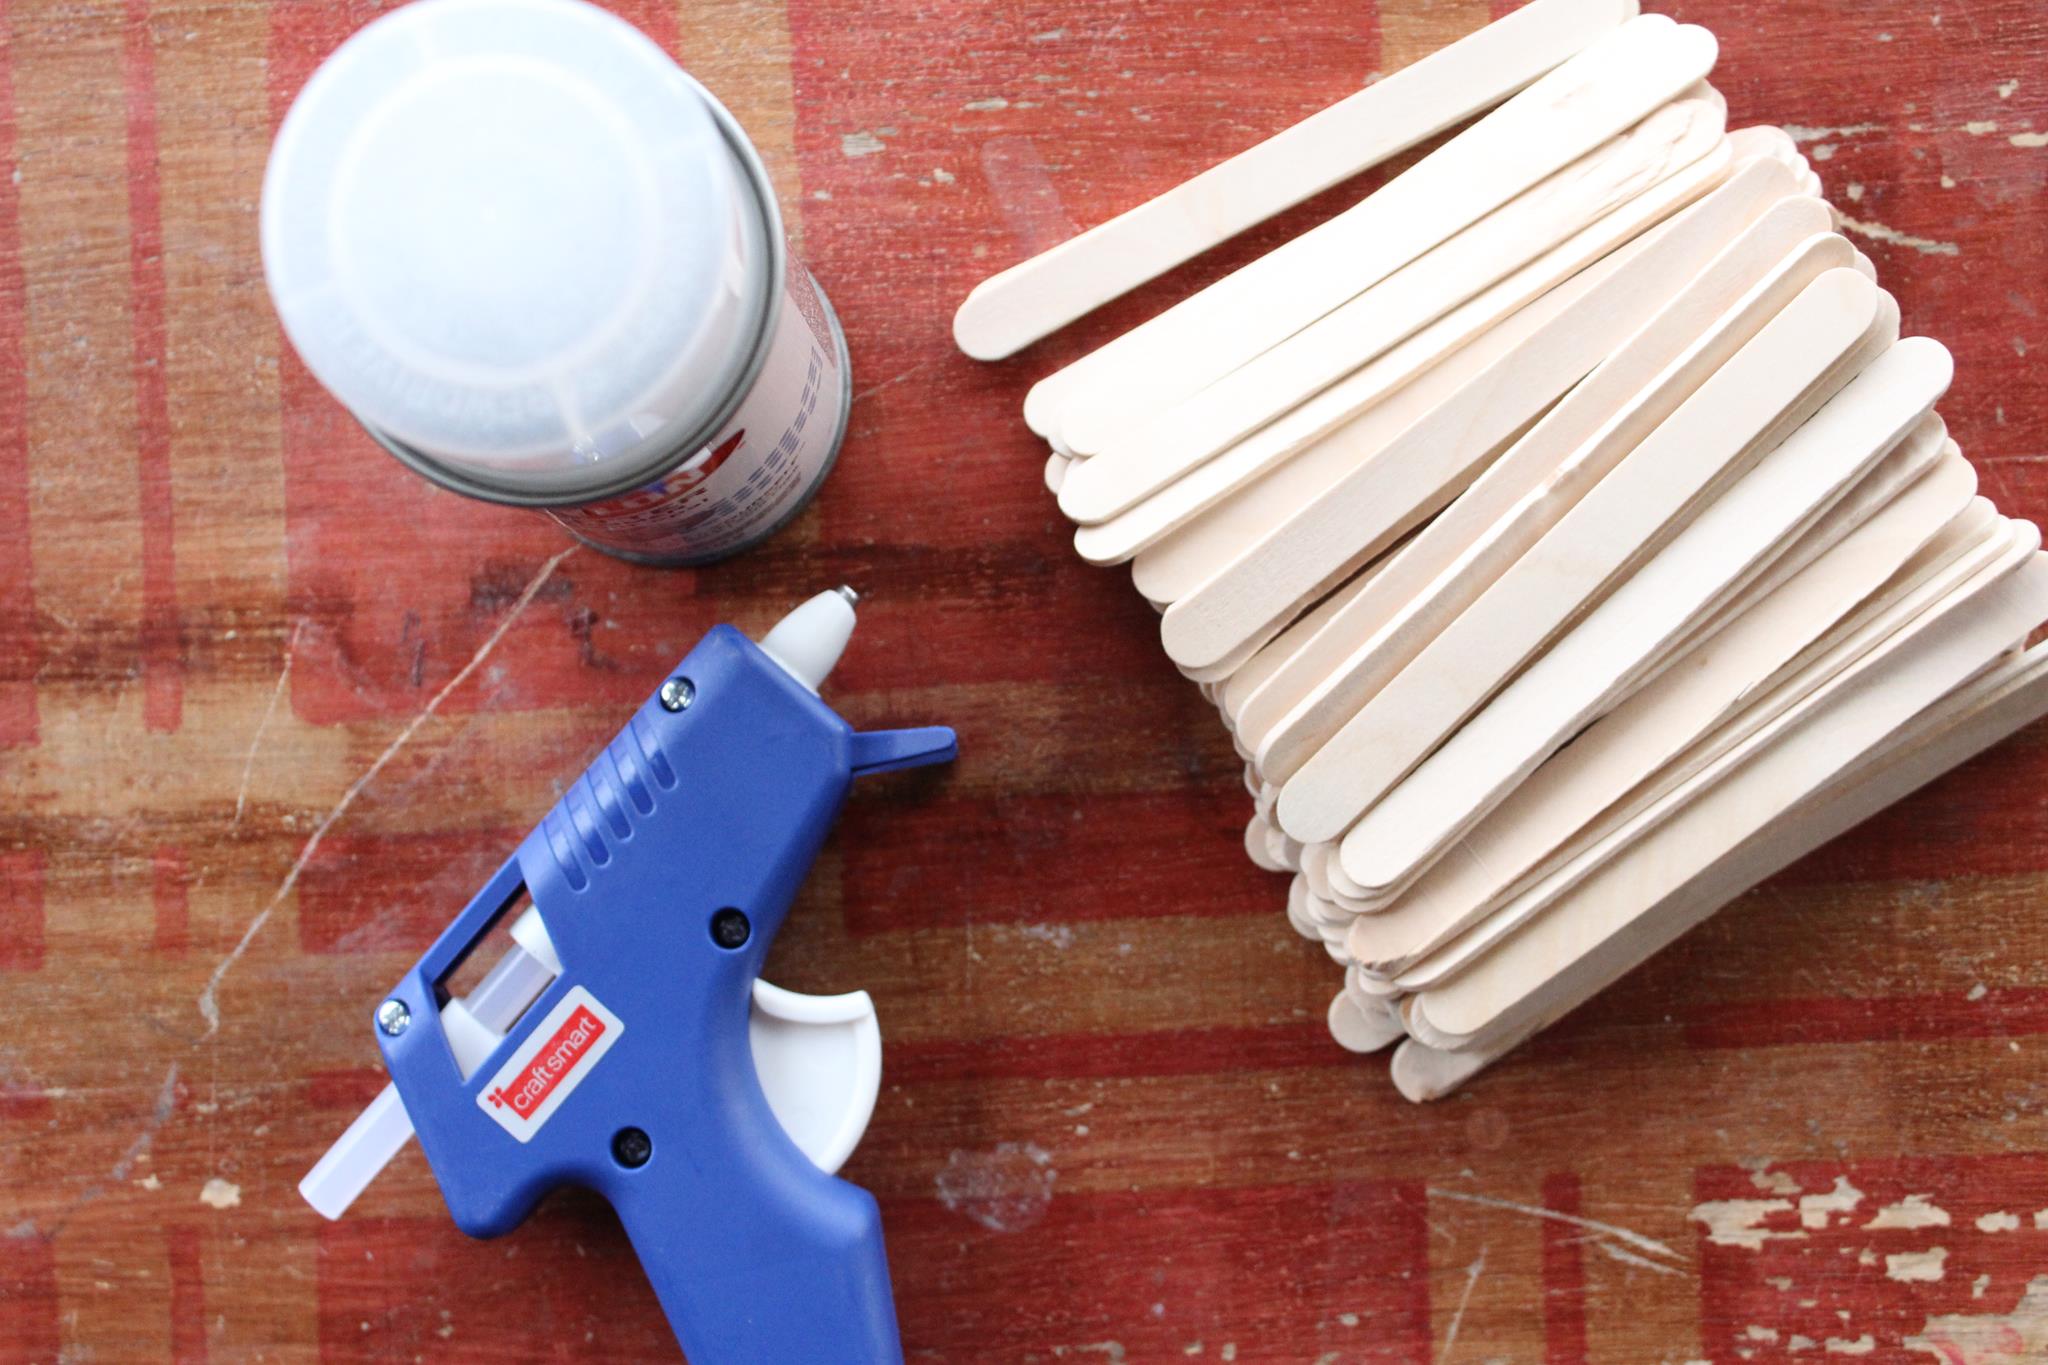 Photo credit/ Margaret Scott
What you need:
· Popsicle sticks
· Hot glue gun
· Spray paint
First, pre-heat the glue gun. Then, lay the popsicle sticks in the desired pattern of a snowflake. I found it easier to look at an outline online to keep the sticks in order.
Starting the gluing process in the middle of the pattern is easier than starting with the popsicle sticks on the outside of the snowflake. Once the pattern is laid out, begin to hot glue the ends of each stick and attach it to the other end of the stick. Hold each end together for about five seconds in order to let the glue harden.
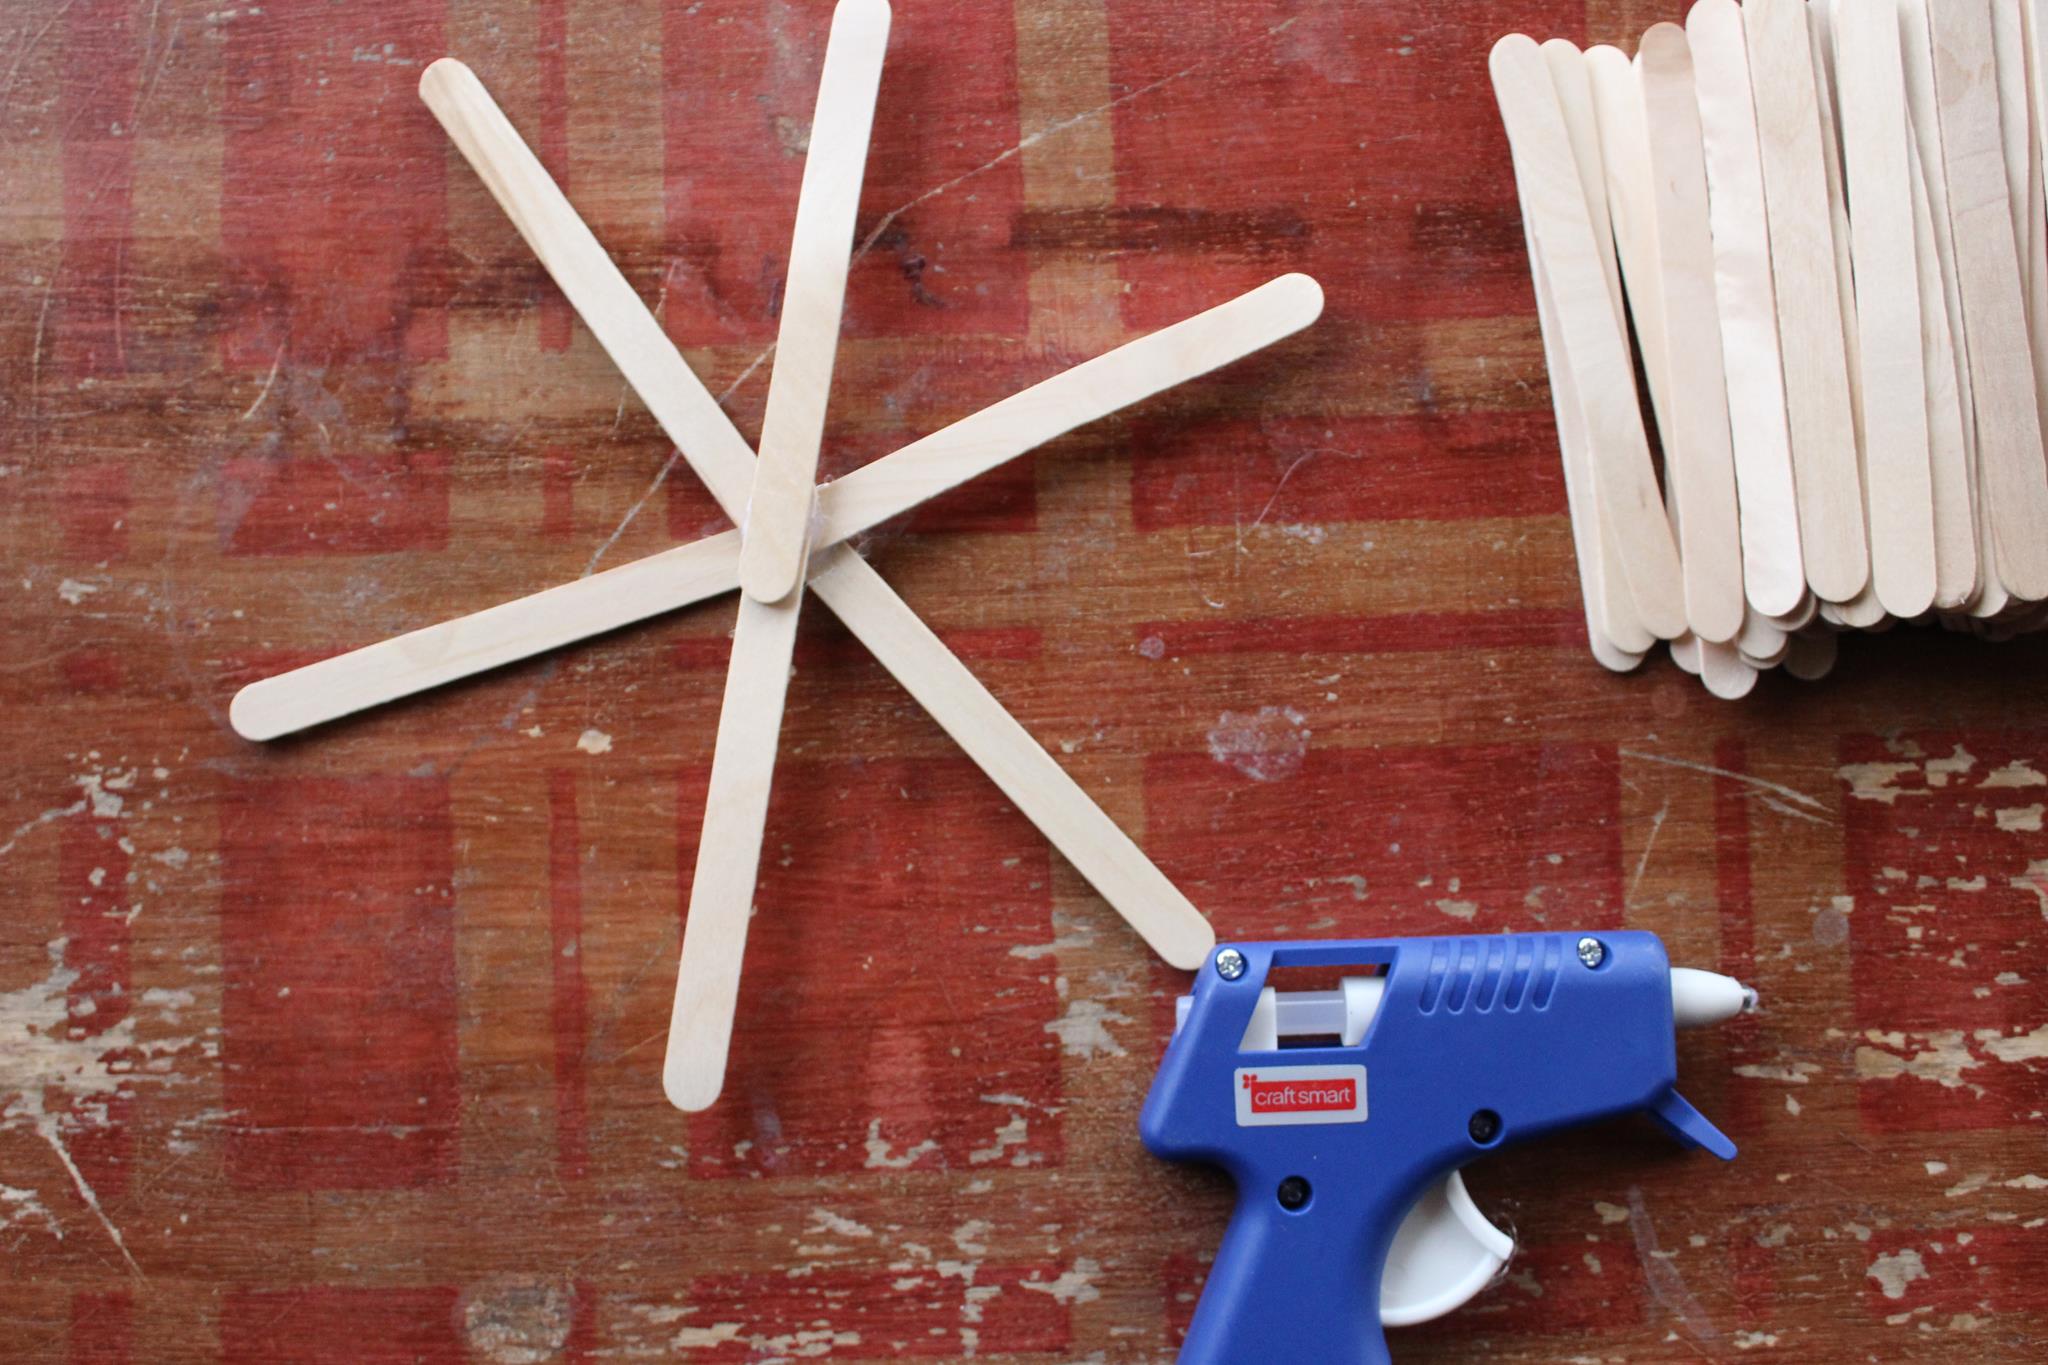 Photo credit/ Margaret Scott
Repeat this process until the snowflake is assembled.
Now that the snowflake is put together, let it dry for about 20 minutes. Once dry, lay it flat on a hard surface and begin to spray paint. Use something that is disposable underneath to protect the surface where you lay the snowflake from the spray paint.
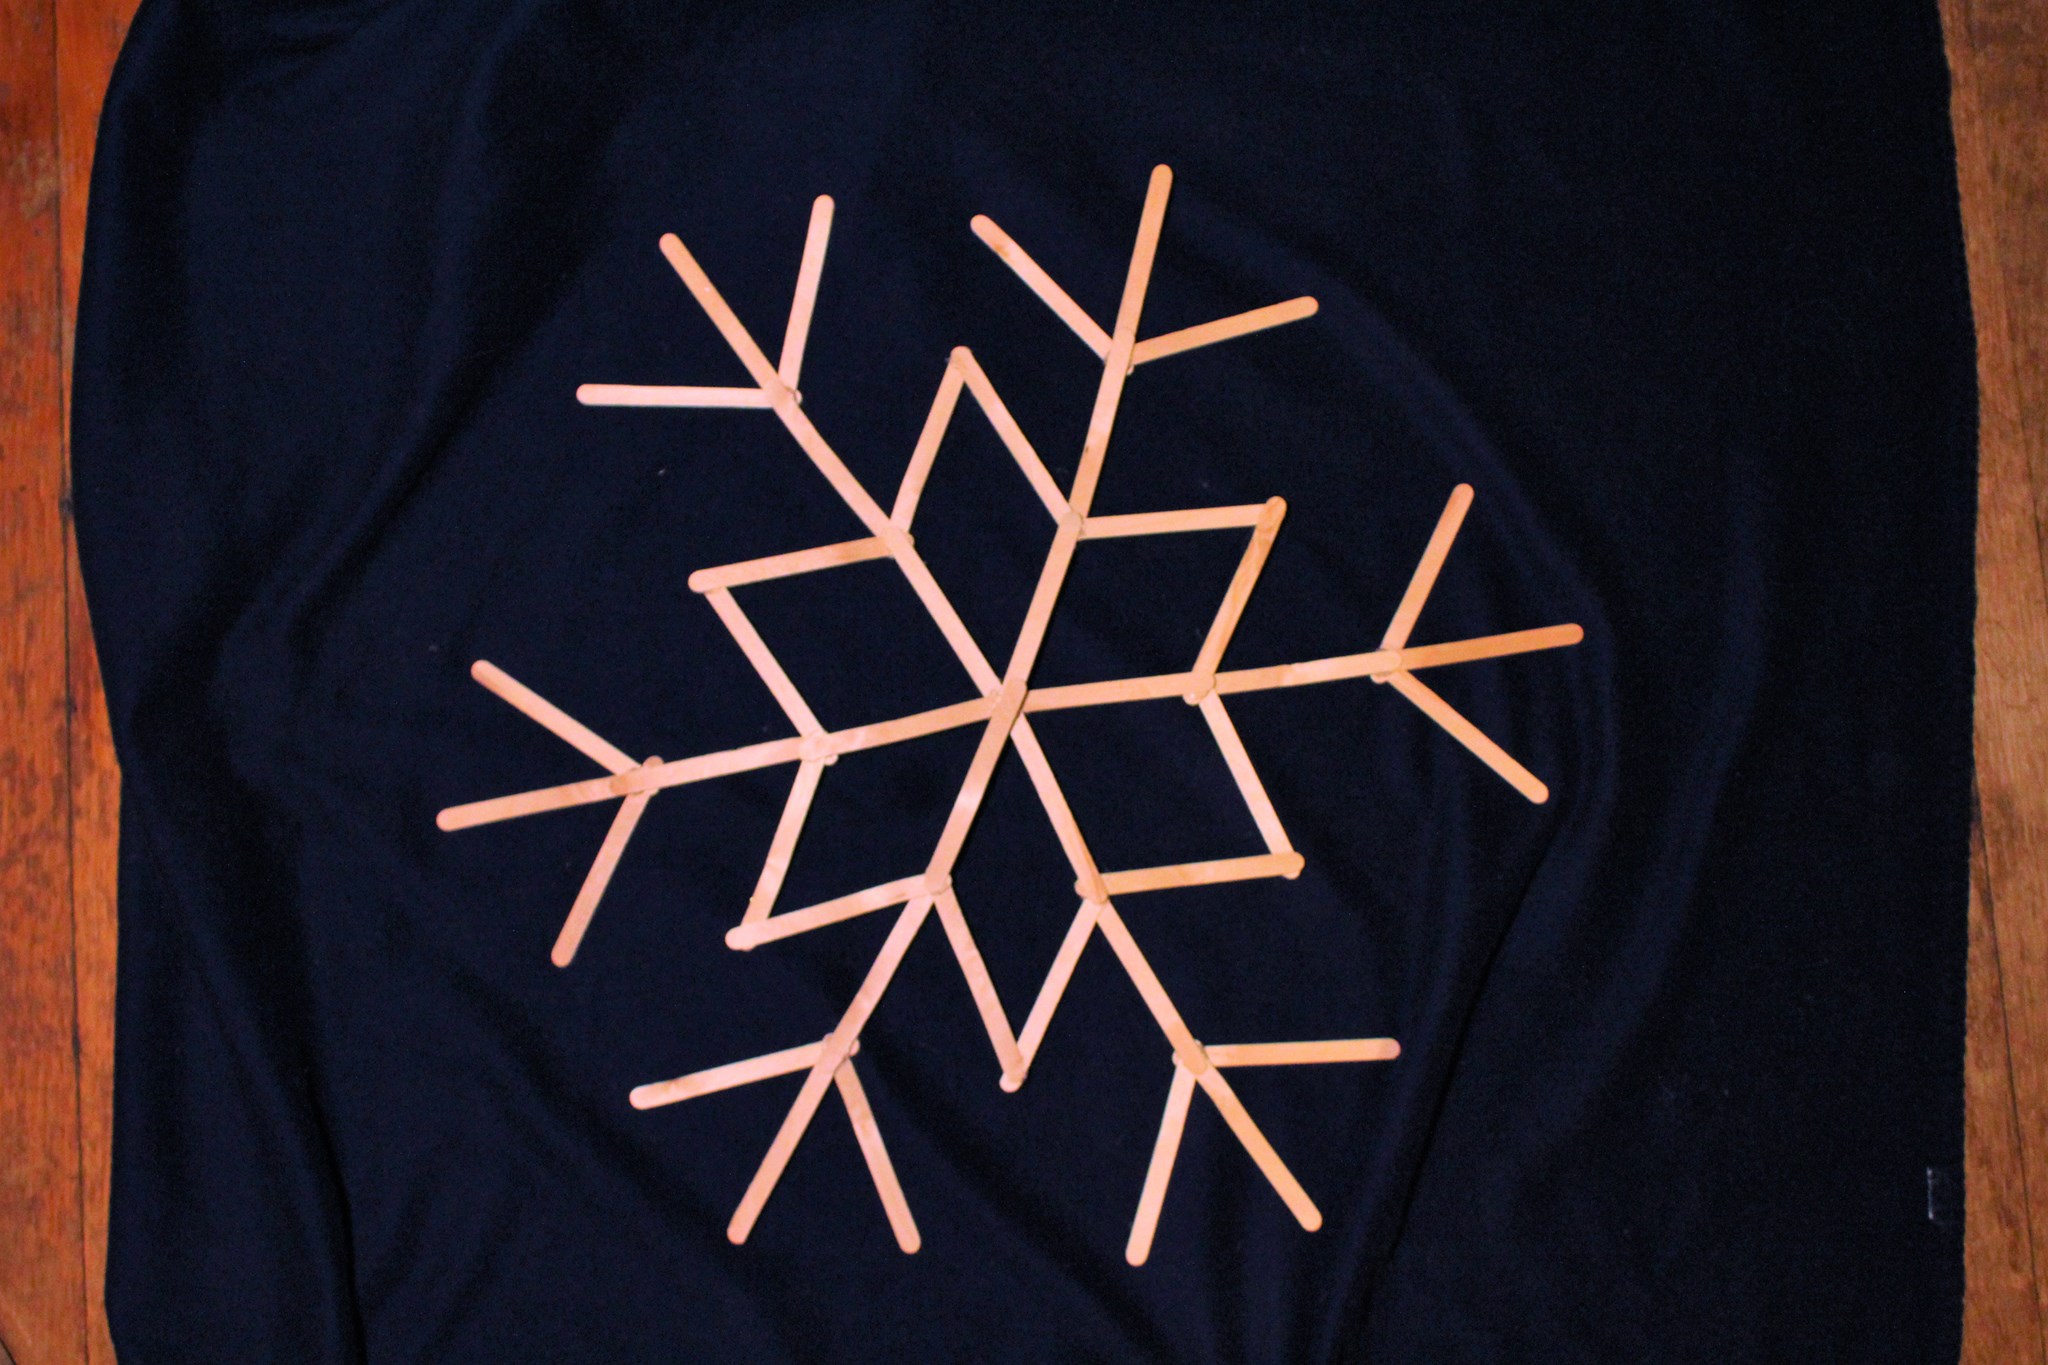 Photo credit/ Margaret Scott
Once painted, let the snowflake dry for a few hours. Depending on how many coats of paint was used, the drying process could take two to three hours. Once dry, the snowflake looks great against a wall or even propped on a table.
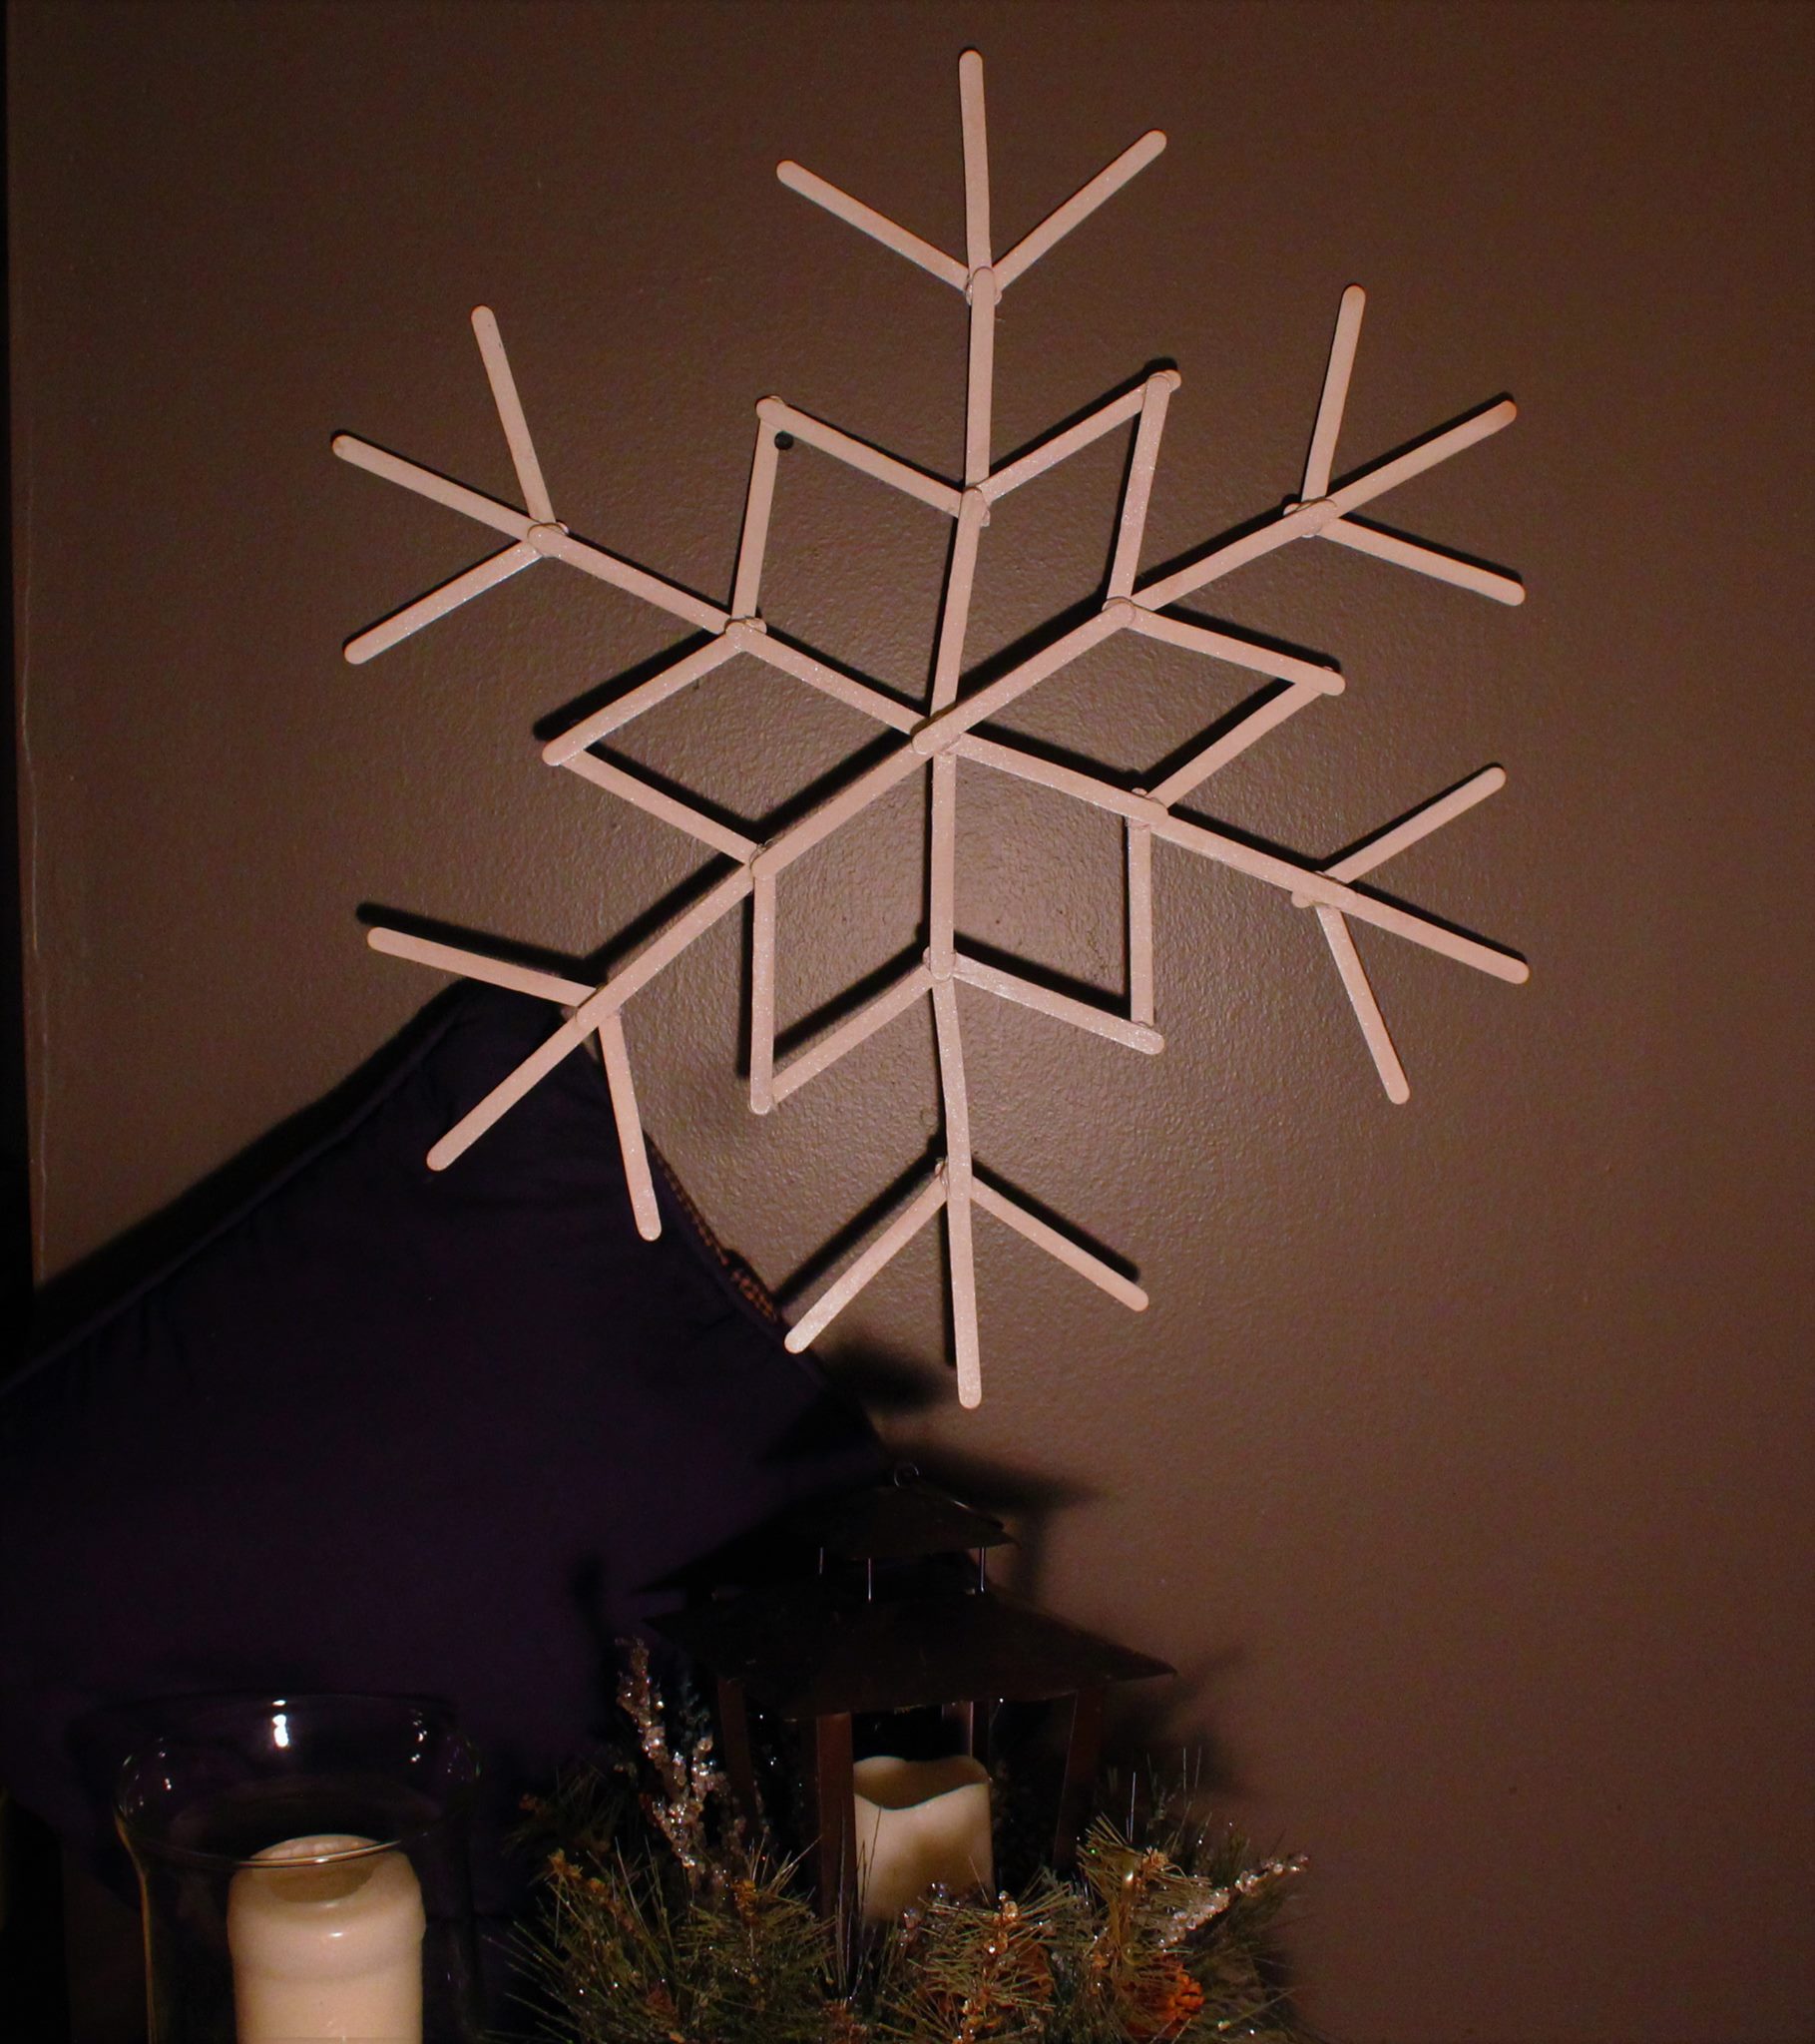 Photo credit/ Margaret Scott
It’s a perfect touch to achieving a winter wonderland theme in any house or apartment!
Contact the writer: [email protected]